


[Color: Black, Size: 33Inch, Color: Black, Size: 33Inch]
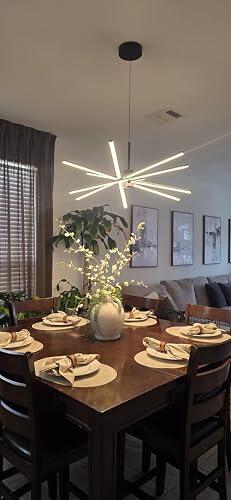
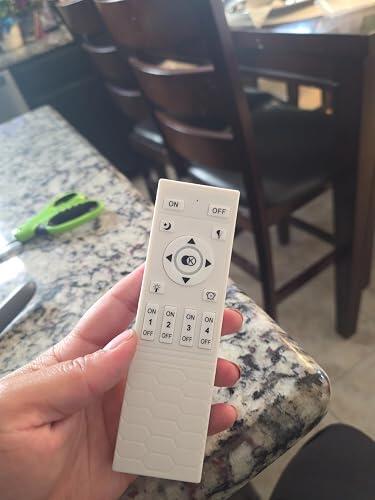
Installation was easy. But there are no instructions on how to make the cord longer. I figured it out but took me awhile.Package came messed up. Some of the rubber is defective thats on the light but I fixed it. Over all this is amazing, looks great. The light comes with a remote. I love how it has different colors.Love how bright it is. Good price for this. It is very big in my opinion for the standard house with standard kitchen. I did this by myself. So proud 👏🏽
[Color: Gold, Size: 33Inch, Color: Gold, Size: 33Inch]
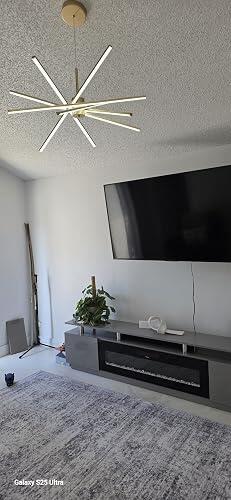
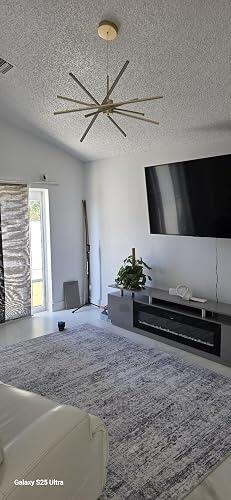
La ame, muy hermosa luz. Y puedes controlar diferentes tonos de luz, 100% recomendada
[Color: Black, Size: 33Inch, Color: Black, Size: 33Inch]
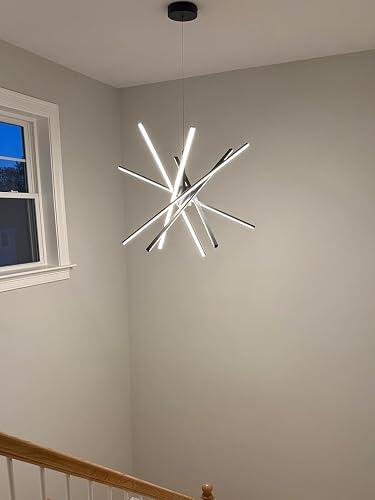
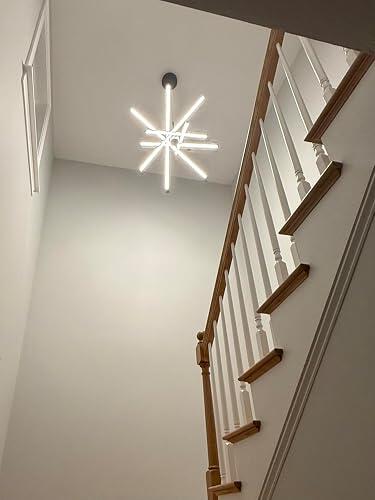
Love this light! Perfect size for our stairway. Feels sturdy and well made for the price. Easy to install and the remote feature is nice to have.
[Color: Black, Size: 33Inch]
Hermosa me encanto para la entrada
[Color: Black, Size: 33Inch]
Great
[Color: Black, Size: 33Inch]
muy buena...no le pongo 5 estrellas porque no es WIFI y no puedo vincularla con Alexa o Google Home o Siri. Todo es por control remoto. Pero la lampara es muy buena, cambia de temperatura y dimmer.
[Color: Gold, Size: 33Inch]
This is a beautiful 33-inch modern Sputnik chandelier, with 90 W of LED power, a remote control, and temperature control from 3000°K to 6000°K. It also offers remote dimming.This should be an excellent chandelier for a dining room, living room, kitchen, or bedroom. 90 W of LED power is a very bright light. This light offers very good value for the money, and it provides a great deal of illumination.I never totally understood why they called a certain chandelier a split-neck chandelier. Isn’t it that it can’t be looked at as one? Sputnik was a ball in space with a straight antenna coming out in various directions. This looks a little as it hangs. It has a round-cylinder center with lights radiating in various directions, so one either saw the cylinder rising or tilting.This is a very modernistic, unique light. The light is copper-colored and made of copper metal, of course. With a remote control, you can change the brightness from 10% to 100%. It’s 33 inches wide, which is almost a yard, and has a 72-inch adjustable cord, so it worked well even with a very high ceiling at Maxwell, where it’s 6 feet down hanging from the ceiling. That would normally be more than you would want. You would just make that adjustment during practice installation with the adjustment pin in the canopy court. Pull the wire up if you want it shorter, coil it inside the canopy, then tighten the adjustment screws around the canopy-hanging cable.The manufacturer says installation is easy. But as with all electrical installations, you must follow certain procedures for your attempt one. First, ascertain the junction box that you’re going to endeavor to use next, and locate the circuit breaker control panel box in your home. The circuit breaker control panel boxes are in the basement. And in some homes, the circuit breaker control panel box is located in the garage, particularly if they do not have a basement.Once you locate the circuit breaker control panel, ascertain which circuit breaker controls power to the junction box you’re planning on working on and turn the power off. Next, use an electrical testing device, such as a voltage meter, to test each wire in the junction box with the local power switch on to determine whether any wires are still energized.Next assemble the fixture because of shipping constraints, it comes disassembled, and the lights themselves must be connected to the cylinder that hangs the base of the chandelier. You can select the angles at which you want the LEDs to shine when you set this device up and connect all the wires. There are necessary connections inside the chandelier, but before connecting the two wires to the chandelier and grounding the chandelier's power supply, which is the cable coming down that supports the entire chandelier.You should also check the strength of the junction box you got tapped into with your hand, to make certain when you pull on that. It will support the chandelier weighing 7 or 8 pounds if it is resecured with additional screws into the ceiling joists.This manufacturer calls the ceiling canopy the hanging board, which means the plate that connects to the ceiling inside the canopy is an installed plate. It’s secured by two screws were on either side of the canopy. Remove those screws and take out the installation plate. When I call wings, that’s what the two screws in the side of the canopy were screwed into; the screws were removed. Take the installed plate, pass the black, white, and green wires from the house service through the center hole in the installed plate, making sure the wings are pointing away from the junction box. The wings are the is part of the steel that you removed the screws from to remove it from the installed canopy. Next, after you’ve done this, take the two machine screw supplied and screw the installation plate into the junction box tightly, making certain that the last half centimeter of the house service wires, which are 14-gauge wires, have had the insulation removed from the junction box.Place the tip of the black wire from the House service adjacent to and pointing in the same direction as the tip of the ceiling fixture wire, which is a 24-gauge multi-strand wire, and place a wire lock nut over it to secure the wires, then rotate clockwise until a firm mechanical-electrical bond is formed. Do the same thing with the white wire and the green wire, which may be connected to a bare copper.Push all the wires back into the junction box, including the wire lock nuts.Now, place the install canopy over the two wings protruding from the install plate and align it correctly over the install plate holes. Then replace the decorative screws you removed earlier. The canopy and your picture are now installed, and I’m assuming you adjusted the fixture height before reinstalling the canopy with the height installation lock at the base of the installed canopy. At this point, the fixture should be fully installed.Turn on the local power...
[Color: Black, Size: 33Inch]
Excellent quality .